
I like having team t-shirts when I go to games, so since I moved to the Seattle area, I needed a few new shirts. The cute women's shirts are more expensive, of course, and since we are trying to economize with the move I bought a cheap men's shirt to wear to a Mariners game. It was fine, but after seeing several t-shirt redesign tutorials on pinterest, I decided to give it a try. Today seemed a good day since I was wearing the shirt to the boys' school for sports day/field day.
I started out by sewing the side seams of the shirt to make it slightly fitted. I followed this tutorial. Then I thought I might like a little shirring on the side and was trying to figure out how to accomplish that. This is the idea I had for adding ribbon shirring by using the existing seam I had just made.
First, I made a little snip in the seam just above the bottom hem.

Then I started threading the ribbon through. I took a 2-foot length of ribbon and folded it in half. (Use more or less depending on the size of your shirt and how much of a tail you want to be visible. Mine is not very long.) Then I made about 3-4 stitches in the top of the fold with a larger needle, but did not tie off or cut the thread.
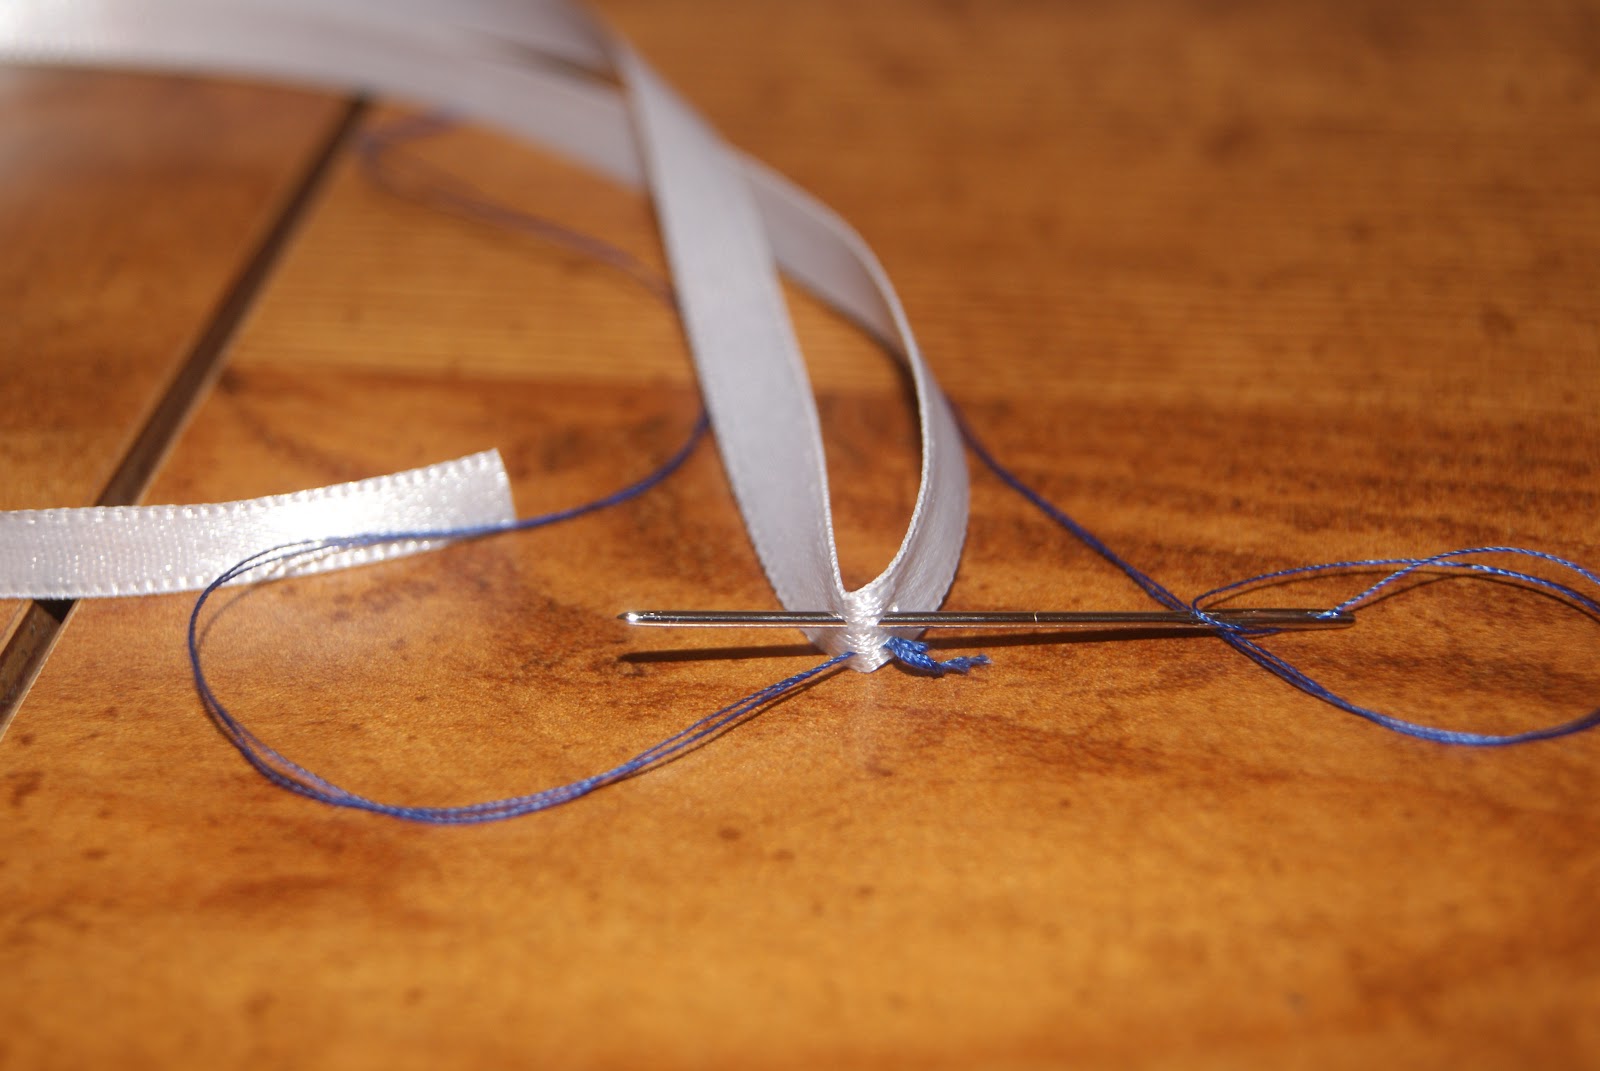
I used the needle to "thread" the ribbon through the slit and up the seam.

I decided I wanted my ribbon to start about 9 inches from the hem of the shirt. So, I measured up 9 inches and once the needle reached that point, I pushed the needle through the fabric. I pulled the needle and thread until the top (or fold) of the ribbon reached that point in the seam. (It took a little work to get my ribbon through the slit but one I got the fold through, it was quite easy.)


Then I stitched through the seam and the fold of the ribbon several times. I tied it off once I was satisfied and trimmed the thread.

Now I was able to pull the ribbon and decide how much shirring I wanted. I simply tied a bow in the ribbon and adjusted the shirring to make it even. Not much of my bow shows, so next time I might make the ribbon longer. Or, I could cut the hem off. Or I could make the slit a little lower.
 |
| You can't really see the bow in this shot, but it does give you an idea of the extra shaping it adds. |
 |
| You can see a little of the bow in the right side of this picture. |
I am still thinking about cutting out some of the neck to make it more of a v-shape. I am not quite happy with the sleeves, either, but I am not sure what to do with them. I need to reinforce the side seams on my shirt, too. But it worked for today and it was really comfortable. I felt a little more feminine in it, too.
I hope this tutorial made sense. If you have any questions or constructive comments, please let me know!

0 comments:
Post a Comment